Creating and Implementing Your Own Icon Font – A Tutorial
In the history of the web, designers have tried a variety of methods to use icons and images on websites. This includes, to name a few: Importing bitmap image files (usually transparent PNGs), vectoring SVG files, or even using web fonts containing symbols instead of typical characters from the alphabet.
The dark ages, when web designers could only choose from a handful of different fonts, are (thankfully) over. Using non-standard fonts has become the standard in web development in recent years, leading to the rise of icon fonts.
The Basics of Icon Fonts
Displaying icons through fonts is no different than using alternative fonts for headers, titles, and paragraphs. Implementing icons as a web font has many advantages:
- Icons are scalable without loss in definition;
- There’s no need to worry about Retina displays;
- It’s easy to apply CSS properties without editing the icon itself (color, gradient, shadows, etc.);
- You can use the same icon in different sizes and colors to save time and space;
- Better page speed performance (i.e. fewer http requests);
- Icon fonts load faster than background or inline SVG’s (see this experiment).
To be clear, there are some disadvantages. Due to differences across browsers, rendering and font smoothing can be unreliable. Another disadvantage, which is also related to inconsistent rendering, is positioning. Positioning a tiny icon in the center of a circle so it looks the same in every browser can be painful and you should avoid overlaying multiple glyphs. Unfortunately, there is no good fallback until the icon font has been fully loaded, which makes it unavoidable to load assets before rendering the above-the-fold content (which has an impact on your Page Speed results). There’s plenty of in-depth information about the use cases of icon fonts, including Ian Feather’s Article, CSS-tricks, SitePoint, and Ben Frain.
Nonetheless, icon fonts are, in most cases, the perfect solution for adding resolution independent graphic assets to your website.
Now, let’s create an icon font and I will walk you through the steps to its integration into your website.
Icons
First, we need to have some nice icons. In order to create an icon font, the icons have to be in the SVG (Scalable Vector Graphics) format, which is a commonly used XML-based vector image format. The best place to find them is Iconfinder, the web’s largest icon source that contains over one million free and premium icons (and growing).
Step 1: Search for icons that you like

Iconfinder has powerful search and filtering options, so this is your chance to get the right icon for your site!
Step 2: Download the SVG file

When picking your icons, you should choose icons that will make a consistent and coherent icon set. To unify your aesthetic, try to use icons from the same collection or, at least, the same designer.
Creating an icon font
Once you have your desired icon(s), the next step is creating the font. Fortunately, there are plenty of free and paid online tools that you can use – among them are icomoon and Fontello. We will use icomoon for our demonstration.
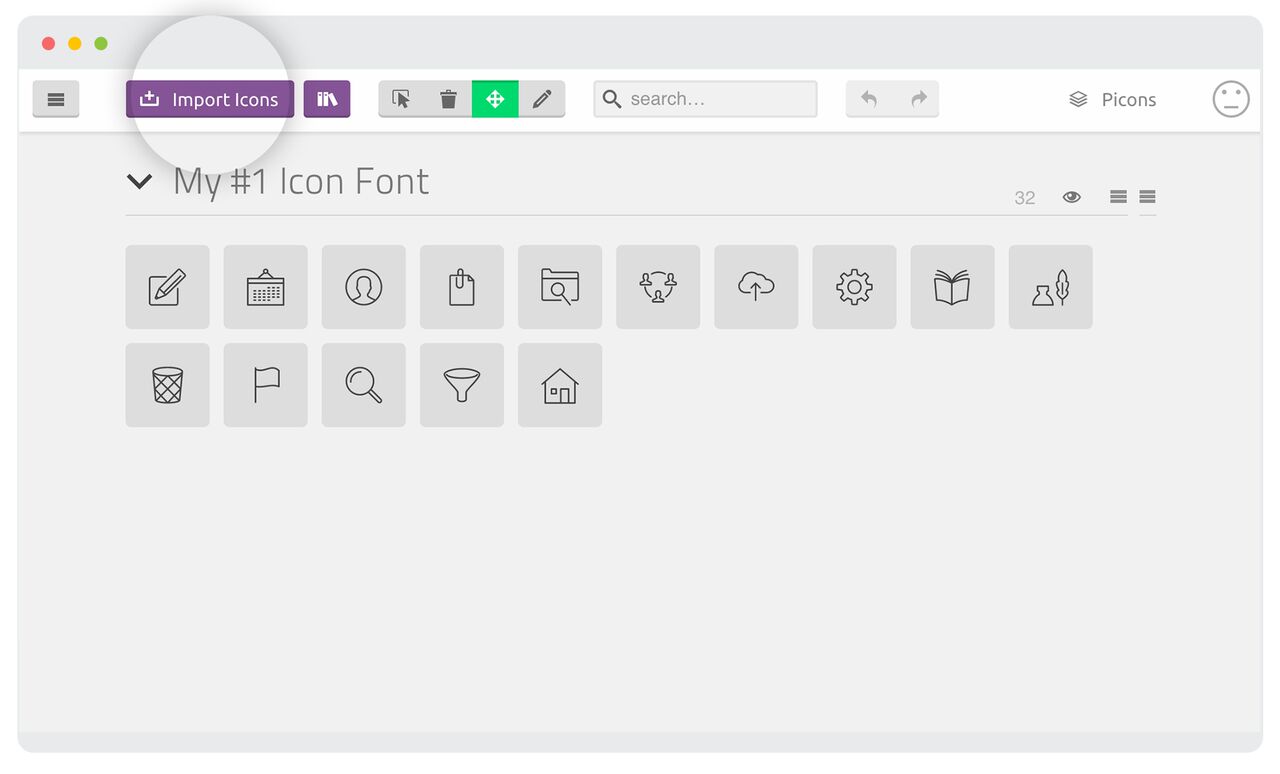
Step 1: Drag & drop selected SVG’s and create a new set
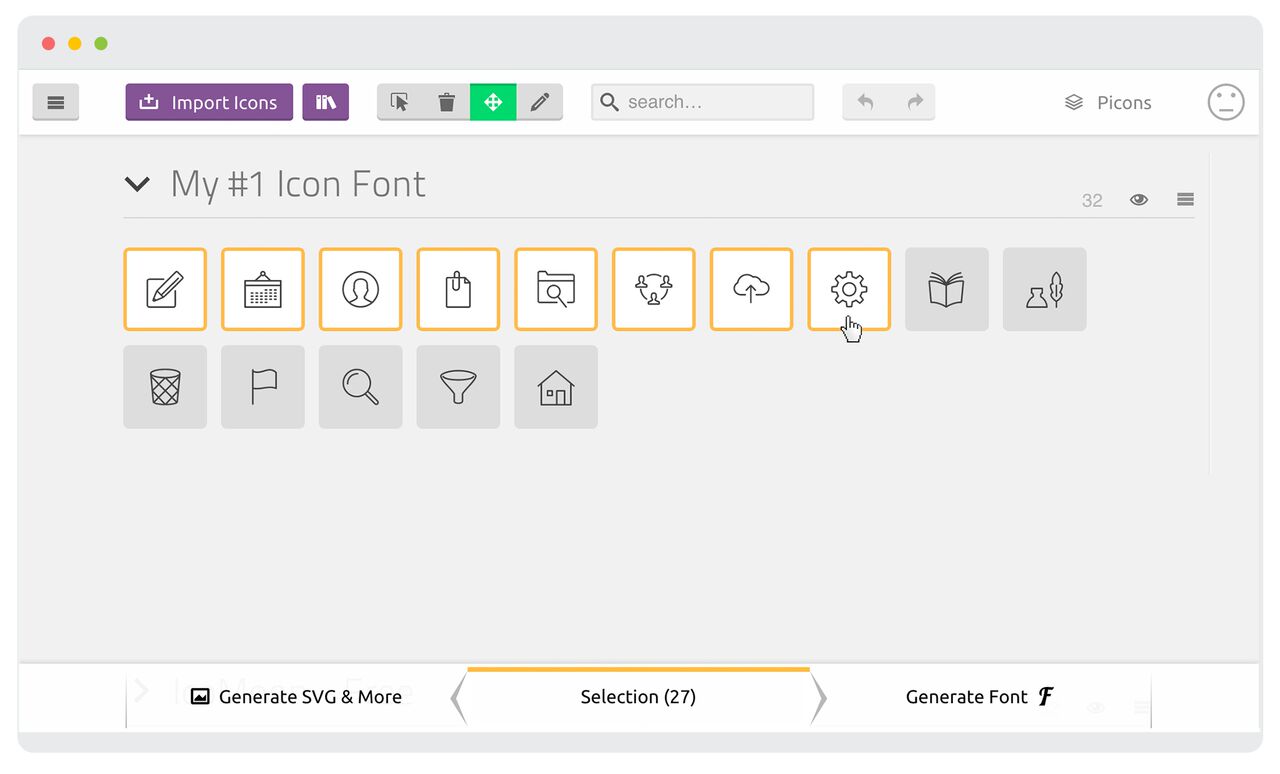
Step 2: Select all the icons you wish to include in the font
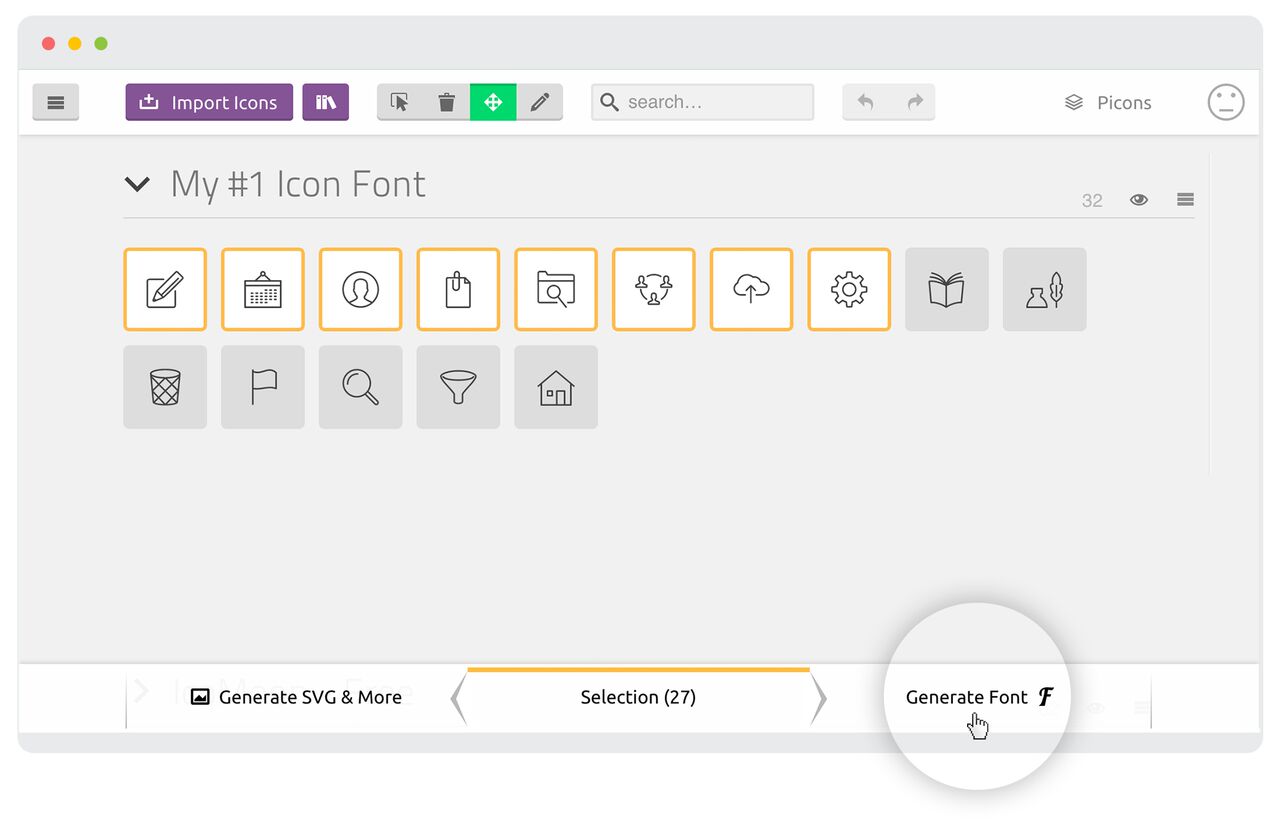
Step 3: Generate the font
Step 4: Rename all the icons and define a unicode character for each (optional)

Step 5: Download the generated files

Using the icon font for your site
The icon font you have just generated consists of various font formats (for cross-browser compatibility) and demo files, including HTML and CSS.
Step 1: Copy the CSS code in “style.css” to your own CSS file
The generated CSS file has a predefined class for each icon that tells your browser which character in the font to use for a specific symbol. You can also apply additional CSS styling to each icon (color, shading, positioning, etc.) to further customize your icons.
@font-face {
 font-family: 'icomoon';
 src: url('fonts/icomoon.eot?5kiojs');
 src: url('fonts/icomoon.eot?5kiojs#iefix') format('embedded-opentype'),
 url('fonts/icomoon.ttf?5kiojs') format('truetype'),
 url('fonts/icomoon.woff?5kiojs') format('woff'),
 url('fonts/icomoon.svg?5kiojs#icomoon') format('svg');
 font-weight: normal;
 font-style: normal;
 }
Step 2: Copy the “fonts” folder to your website folder
The “fonts” folder includes your generated icon font in different formats − namely, woff, tff, svg, and eot. Make sure that the uploaded fonts are linked from the imported CSS and properly placed in “fonts/”.
Step 3: Using icons in HTML
An icon can be inserted with the following HTML code:
<span class=“icon-write”></span>
The class name “icon-write” is generated from the title you gave each icon when creating the icon font. The classes are referred to styling definitions in the included CSS file:
.icon-write:before {
content: "w61";
}
The styling can be applied either inline or to the class in style.css. Here is an example of how to set the size, color, and the hover style of an icon:
.icon-write:before {
 content: "61";
 color: #c0dfe8;
 font-size: 72px;
 margin-bottom: 24px;
 }
.icon-write:hover::before {
 color: #000000;
 }
And here is a screenshot of our icons in action:

In Conclusion
Icon fonts are a great solution to integrate icons into your site and style them without using any vector editor. With CSS, the possibilities are almost endless.
I encourage you to use icon fonts for your next project. And if you want, you are more than welcome to use my free Iconfinder icon set, which includes over 160 social media icons.